Blur with Shotcut - Free video editing software
Transcription/प्रतिलिपि
Sometimes it is required to blur certain areas of the screen while recording whether to hide personal information or avoid copyright issues. Whatever may be the case shotcut filters comes in handy to implement blur. Shotcut feature rich environment give us the liberty to blur the part of the screen with ease. Let’s look.
Sometimes it is required to blur certain areas of the screen while recording whether to hide personal information or avoid copyright issues. Whatever may be the case shotcut filters comes in handy to implement blur. Shotcut feature rich environment give us the liberty to blur the part of the screen with ease. Let’s look.
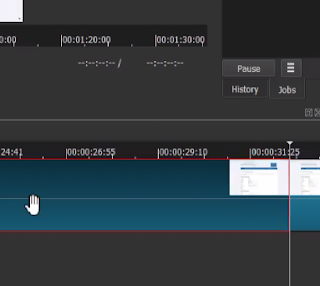 Open
shotcut and open video clip you want to edit for blur. Traverse to the location
till where you want the blur effect to take place in the scene. Ideally it is
the location where the object is visible in the screen.
 By selecting the video track. Right click and select option split at playhead or simply press S on keyboard. Now we have split the clip into two parts one with the object to be blurred in one and rest of the clip in another.
Select the clip with the object visible and copy by use control plus c. Create another video track and at the same location paste the copied clip.
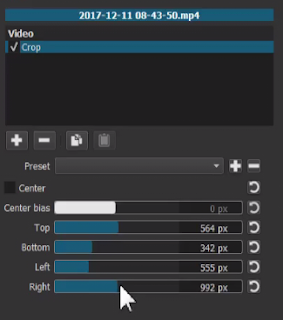 Crop filter adjust the
values of top, bottom, left, right values to get the object only on the screen
which you want to blur.
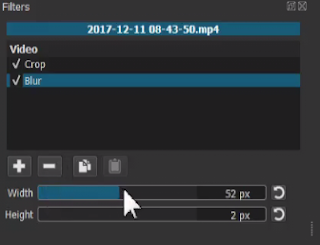 Again,
select blur filter to blur out the video we just cropped. Adjust the blur
height and width values to your satisfaction.
 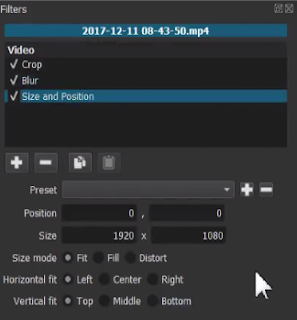 Add another filter called size
and position to adjust size and location of blur on the screen. Make sure to
select fill checkbox to resize the blur according to original size of the
object. Once done verify your settings by making bottom video layer visible.


Comments
Post a Comment